Outlook on Android
To configure the Outlook Email App on Android please follow the steps below. Hopefully these instructions will contain all the steps pertinent to your device, if not please contact us in our support department at http://support.bravenet.com.
1) Download and install the Outlook App available on the Google Play Store.
![]()
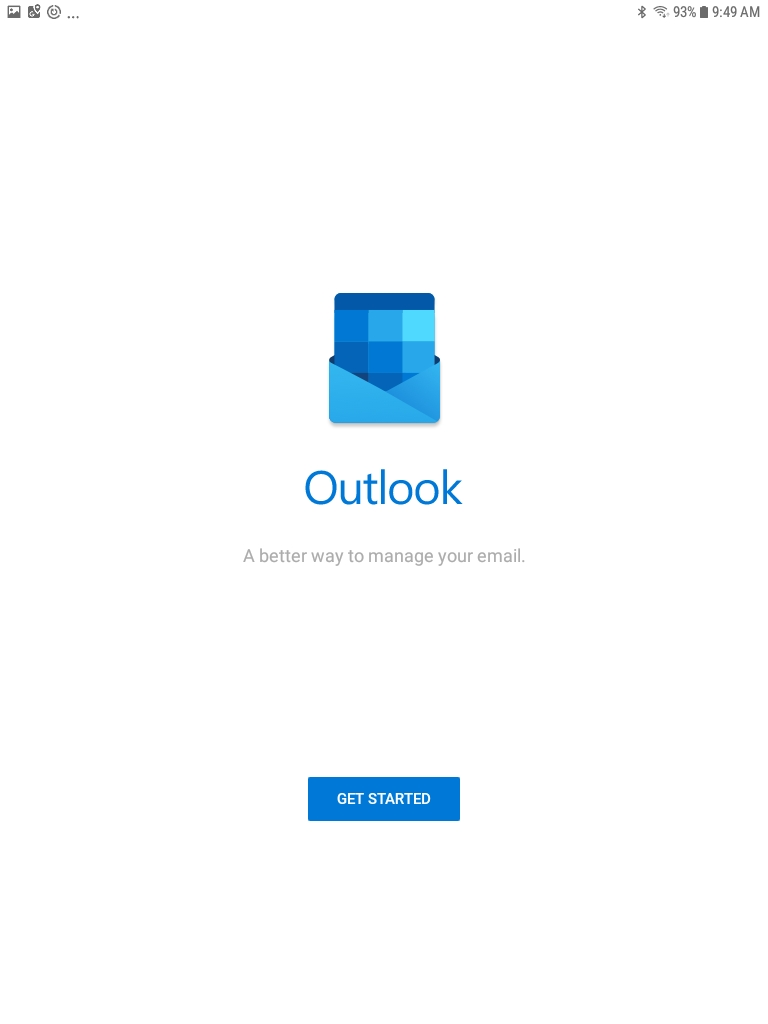
2) Launch the Outlook App, Click GET STARTED if this is the first time launching outlook, otherwise skip this step
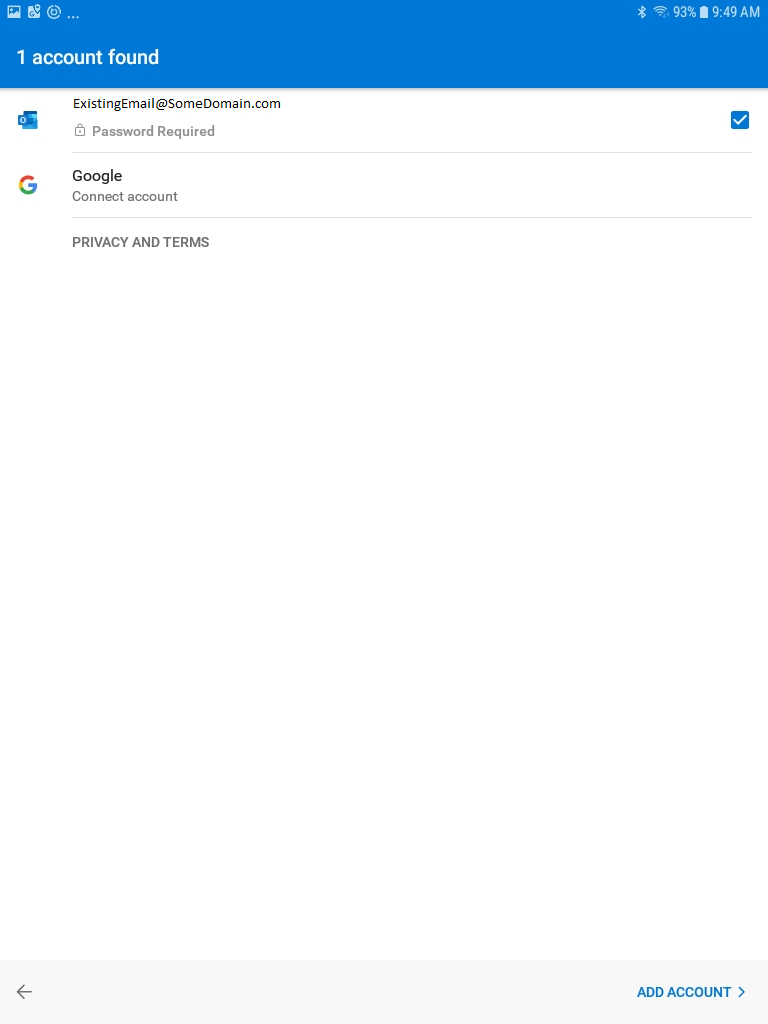
3) If an existing account exists and a checkmark exists in the upper right hand corner then click on checkmark so the checkmark disappears. Click SKIP
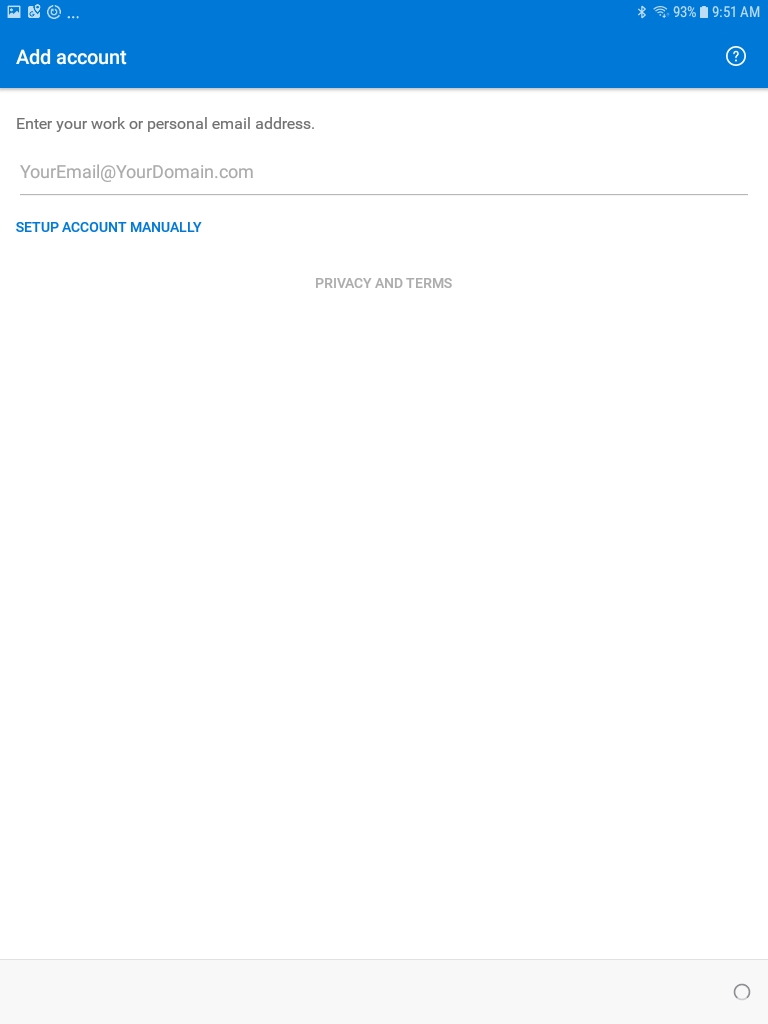
4) Fill in the email address for the email account, and then press Continue.
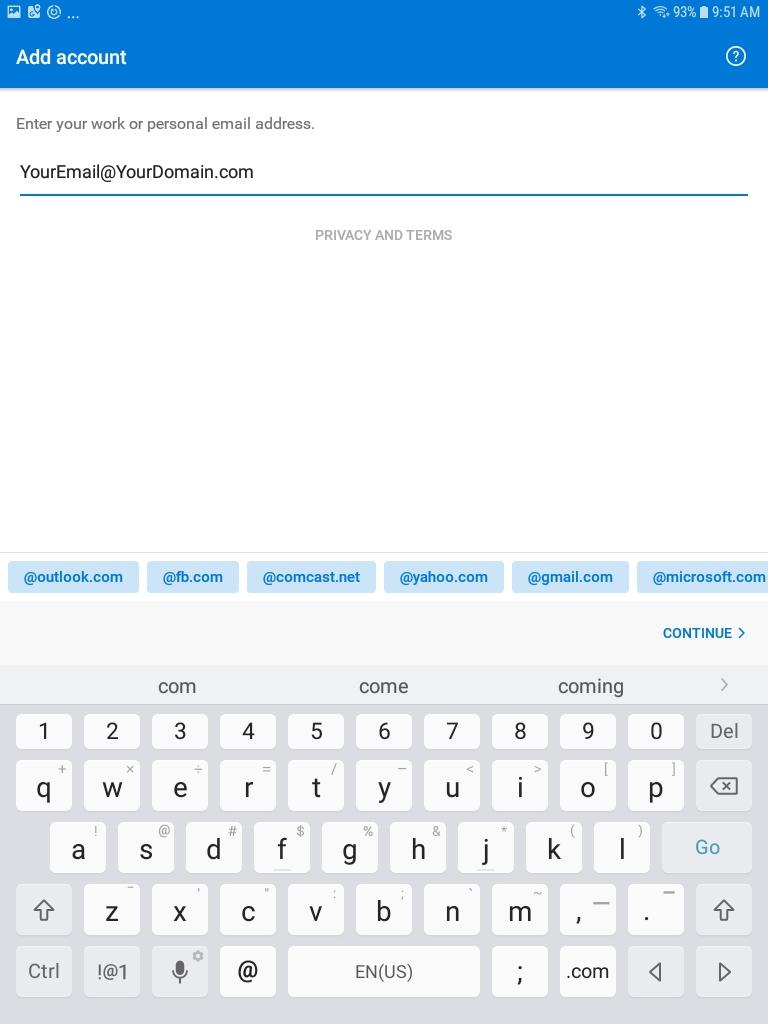
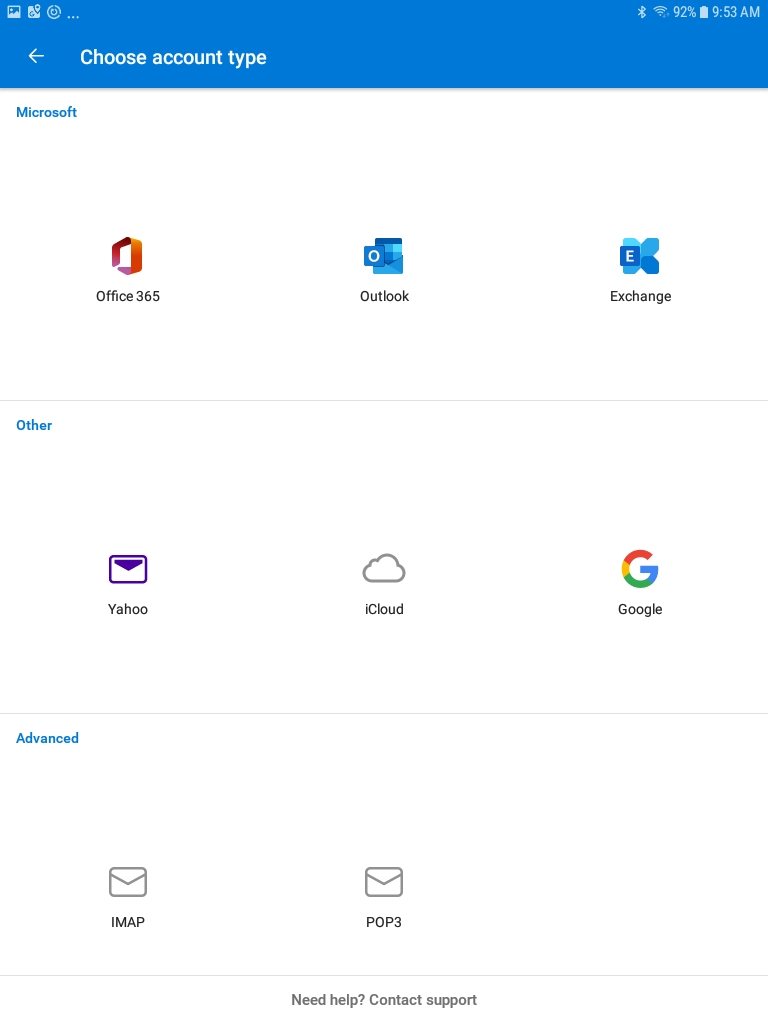
5) Click SETUP ACCOUNT MANUALLY
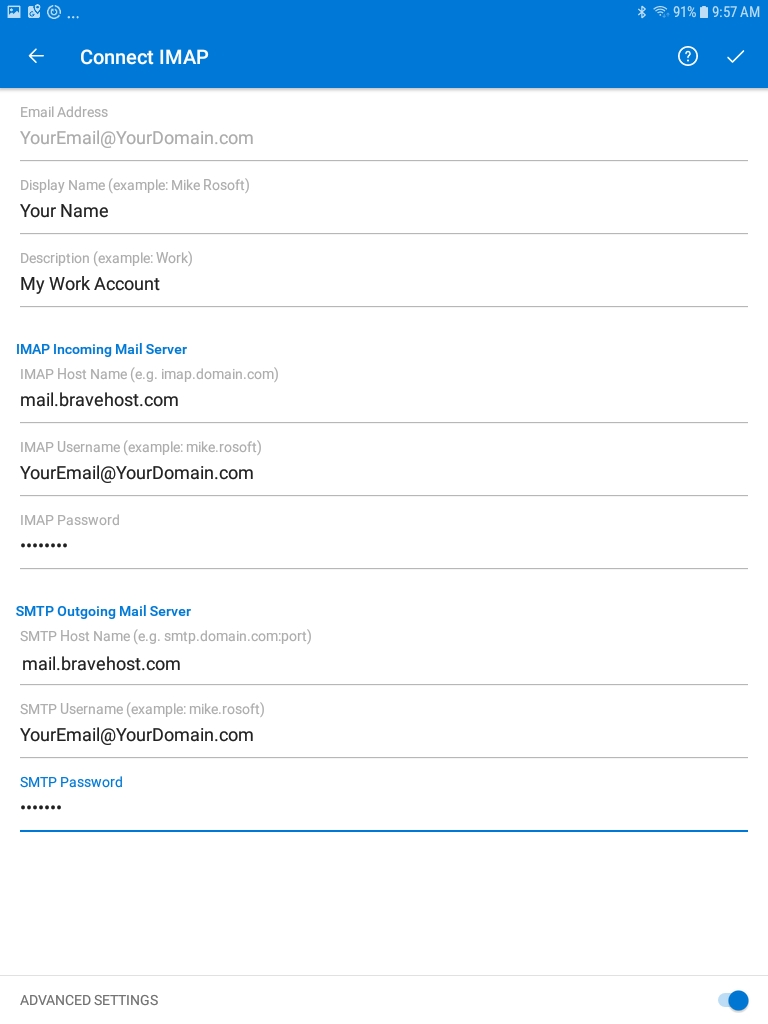
7) Type in your Email password. Please note this password may be different than your Bravenet console password. Also type in your Full Name in Display Name.Click ADVANCED SETTINGS near the bottom of the screen.
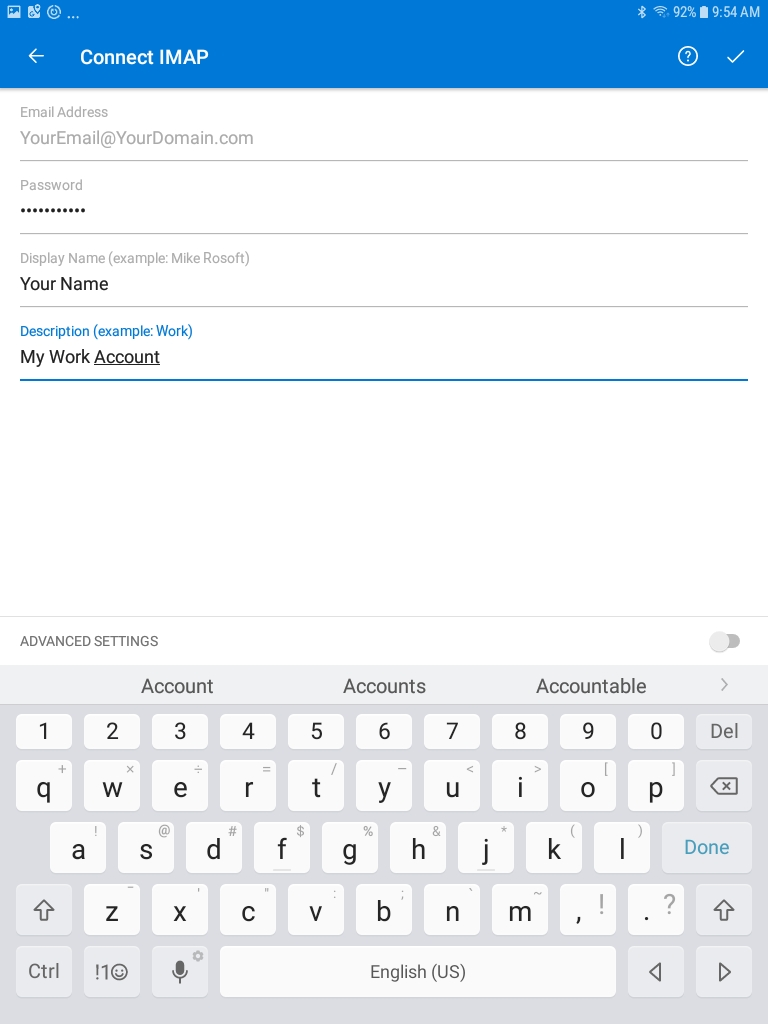
8) Type in the IMAP host name mail.bravehost.com, Your Email address and password in the IMAP username and password section. Type in the SMTP host name mail.bravehost.com, Your Email address and password in the SMTP username and password section. Click the checkbox in the upper right part of the screen.
9) Please restart your device and login to check your mail
NOTE
In step 5 If you see Connect Exchange at the top rather than Add Account:
Press ?
Press Change Account Provider and select IMAP
10) All done! If you experience any issues, please let us know at http://support.bravenet.com. Thanks!

