SFTP Authorized Keys: Difference between revisions
No edit summary |
No edit summary |
||
| Line 35: | Line 35: | ||
=== Step 2: Upload Your SFTP Key to Bravenet === | === Step 2: Upload Your SFTP Key to Bravenet === | ||
1. Log in to your Bravenet account. | |||
2. Go to the '''SFTP''' page and then click '''Authorized Keys''' next to your SFTP account. [[File:Authorized Keys.png|593x593px]] | |||
# Click the '''Choose File''' button. | |||
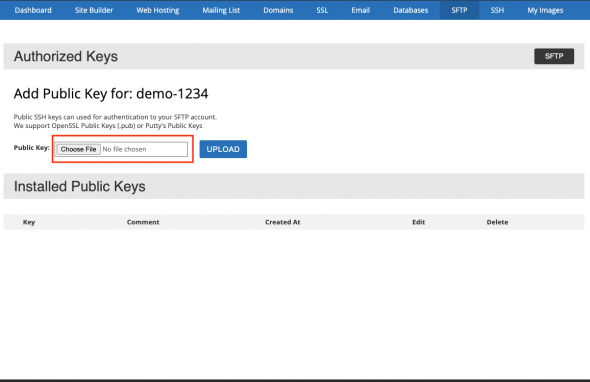
# Click the '''Choose File''' button. [[File:Upload Button.png|590x590px]] | [[File:Upload Button.png|590x590px]] | ||
4. Your key will now be added to your account. | |||
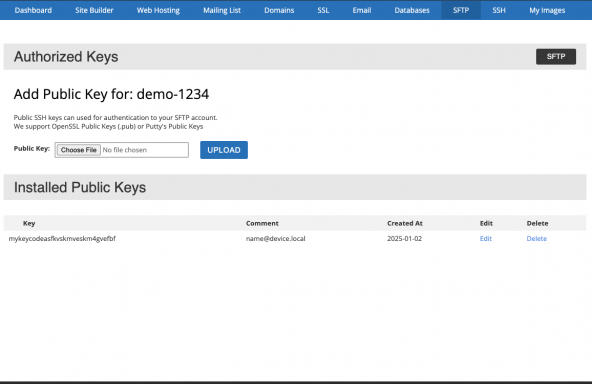
[[File:NewKey.png|592x592px]] | |||
=== Step 3: Connect via SFTP === | === Step 3: Connect via SFTP === | ||
Revision as of 13:16, 2 January 2025
How to Set Up SFTP Authentication with Bravenet Hosting
Bravenet hosting now supports SFTP keys for enhanced security. Public SSH keys can used for authentication to your SFTP account. We support OpenSSL Public Keys (.pub) or Putty's Public Keys.
Step 1: Generate an SFTP Key
On a Mac (Using Terminal)
- Open the Terminal application.
- Run the following command, replacing
keynameherewith your desired file name:ssh-keygen -f keynamehere - Follow the prompts:
- Press Enter
- Add a passphrase for extra security (optional)
- This will generate two files:
keynamehere: Your private key (keep this secure and private).keynamehere.pub: Your public key (used for uploading to Bravenet).
On Windows (Using PuTTY)
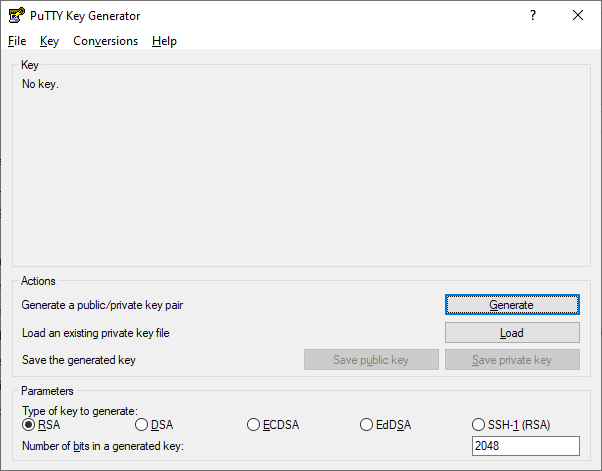
- Download and open PuTTYgen.
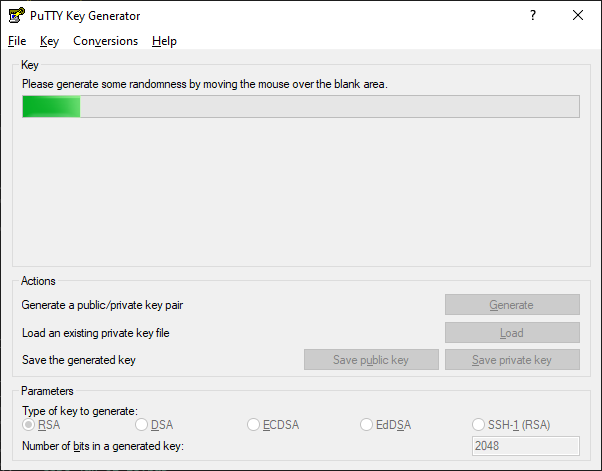
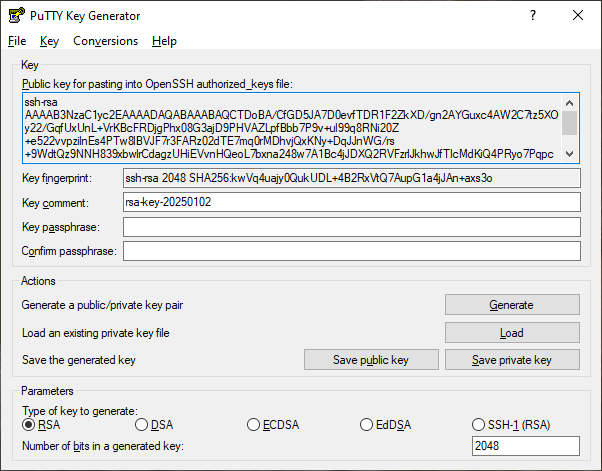
2. In the Key Generator window, click Generate and move your mouse randomly in the blank area to create randomness.
3. Save your public and private key. Make sure to keep your private key secure and private. Your public key will be uploaded to Bravenet in the next step.
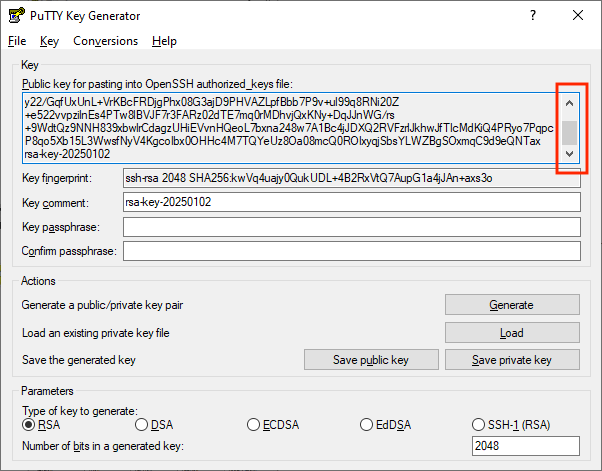
Note: When copying the public key, please make sure you are selecting all of the text, as you many need to scroll to the bottom to see the entire key.
Step 2: Upload Your SFTP Key to Bravenet
1. Log in to your Bravenet account.
2. Go to the SFTP page and then click Authorized Keys next to your SFTP account. 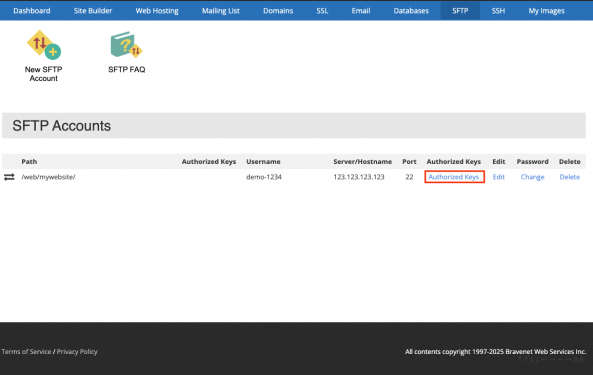
- Click the Choose File button.
4. Your key will now be added to your account.
Step 3: Connect via SFTP
- Open your preferred SFTP client (e.g., FileZilla, Cyberduck, or Terminal).
- Use your Bravenet SFTP account username and the private key to connect.

